
Homes and visible residential ledges
For enquiries in these areas, show the sill or AC surface from inside and explain window movement. Confirm the permitted visible finish and any restrictions on drilling or access.
Targeted perch deterrence
A well-chosen strip starts with the landing surface: measure its length and depth, select the coverage, then agree a neat and maintainable fixing line.
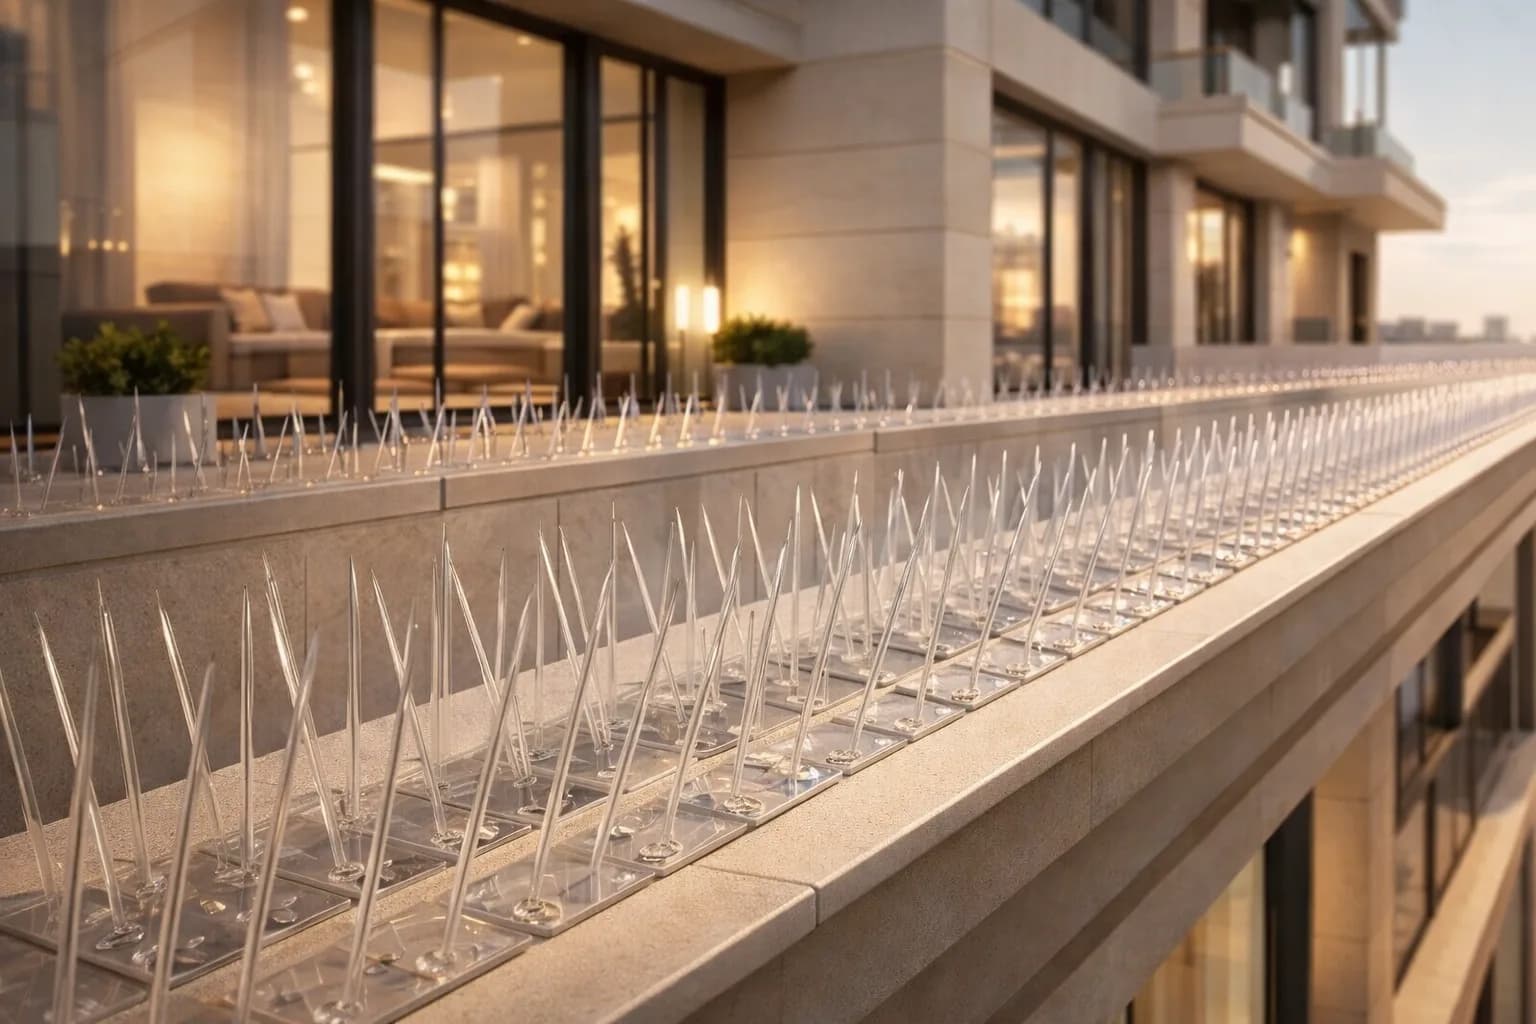
Keep a defined ledge or sill less inviting for perching birds with EverSafe bird spike installation in Hyderabad. We check the landing surface, its depth and the fixing method before recommending a strip layout. Installation starts at ₹120 per running ft, measured by total installed strip length in running feet, including every required row.
Choose the treatment
Watch from a safe position and show us where birds sit. The surface below the droppings may not be the surface they are using.
A narrow sill, beam, sign edge or suitable parapet can be considered for spikes when birds only land there. Measure the complete usable perch, including returns and separate nearby strips. A small targeted treatment can keep the surrounding view open.
If birds go behind an AC, into a duct or through a balcony side, covering the landing strip alone leaves the opening accessible. Compare netting or a suitable rigid closure for that route. The same property may have separate perching and entry problems requiring different treatment.
Measurement and cost
Bird spikes are quoted by total installed strip length. A ledge's front length is only the starting measurement; its depth helps determine the number and position of rows.
| Measured layout | Installed strip length | How to compare the estimate |
|---|---|---|
| One 10 ft row | 10 running ft | Starting-rate illustration: ₹1,200, including installation |
| Two 10 ft rows | 20 running ft | Both rows count; confirm the selected product and full installed total |
| Several separate sills | Sum of all required rows on every sill | List each sill so none are missed or counted twice |
| A ledge with corners or returns | Main rows plus required return coverage | Show where the layout turns and how strip ends meet |
Installation starts at ₹120 per running ft. Row spacing and coverage follow the selected product, rather than a universal rule for every ledge. Preparation, access and scope additions are confirmed in the quote.
Price, product and complete scope
Installation starts at ₹120 per running ft of total installed strip length. Count every row and return in running feet when comparing quotes.
Work out a starting budget
Measure the total installed strip length across all required rows. A wide ledge may need more than one row.
Installation is included in the starting scope. The selected product, complete coverage, access and any agreed additional work determine the final quote.
Ten running ft of installed strip gives a starting-rate example of ₹1,200, including installation. A 10 ft ledge with two full rows needs 20 running ft; obtain the measured total with any cleaning, transport and taxes confirmed.
Coverage across the perch
A neat row at the front can leave a usable landing shelf behind it. Look across the entire surface and compare it with the actual product's coverage width.
Check the manufacturer's stated coverage, spike arrangement and intended birds. Wider ledges may need more than one row or a different product. Keep the configuration in the quote so a strip with a narrow base is not mistaken for a narrow coverage footprint.
Include the back edge, corner returns and gaps beside brackets in the layout review. A neighbouring untreated ledge may remain available, so be clear about the agreed treatment area. The finished system should follow the selected product's placement instructions.
Compare the actual system
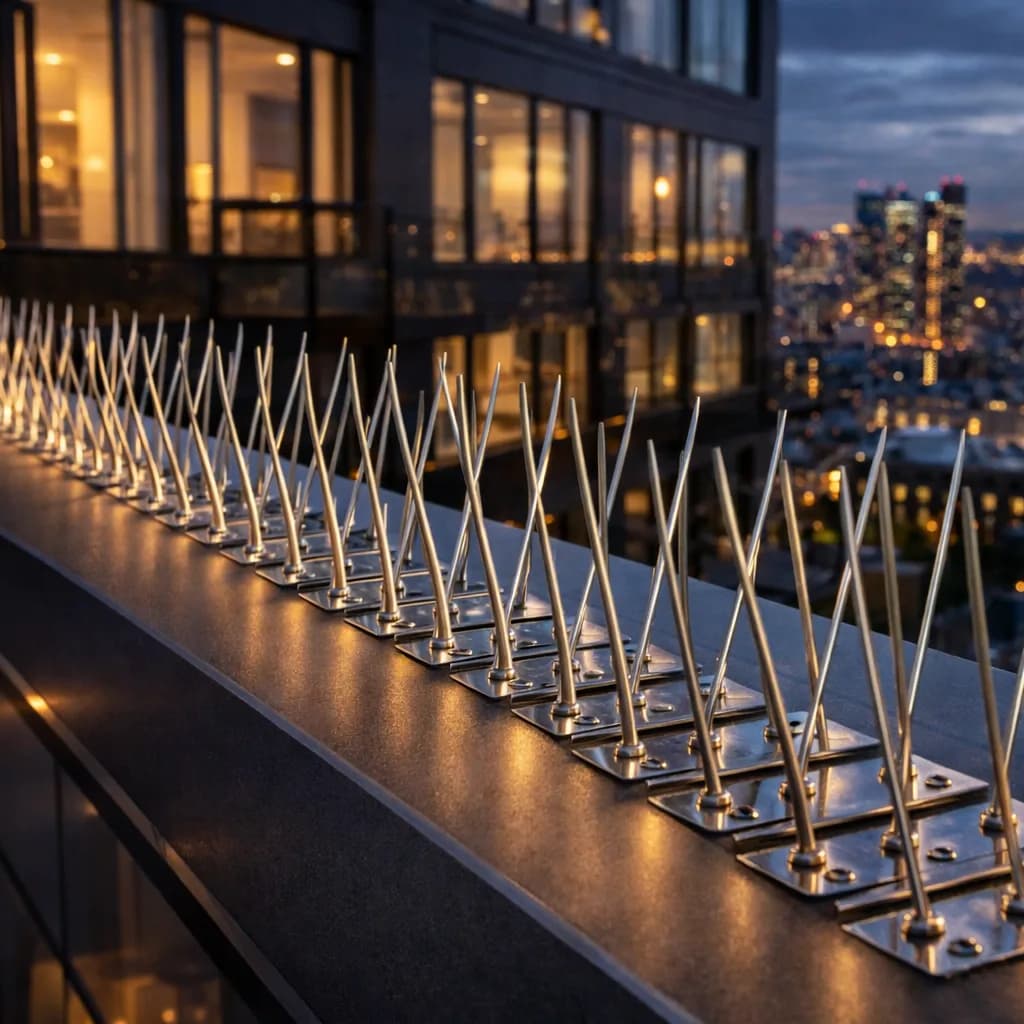
Spike points, base and fixing method work together. Product descriptions should tell you what is being supplied and where it is intended to be used.
| Product detail | Why it matters | What to request |
|---|---|---|
| Spike material and arrangement | Determines the selected deterrent configuration | Material and intended application |
| Polymer or metal base | Affects fixing compatibility and visible finish | Base specification and outdoor suitability |
| Coverage width and strip size | Changes row count, joins and total length | Documented product dimensions |
| Adhesive or mechanical fixing | Must suit the substrate and access | Manufacturer-compatible installation method |
A stainless-steel label is not a promise that every part is metal or maintenance-free. Ask to see the selected strip and the installation details before comparing totals.
Preparation and fixing
The visible spike row is only the upper part of the installation. The surface underneath needs to be suitable for the selected fixing method.
Identify dirt, loose paint, old adhesive, damaged coating and any droppings that need removal. Agree substantial or specialist cleaning as a scope item. A loose finish is not a sound base simply because adhesive can be spread across it.
A compatible adhesive may require a clean, dry surface and a specific curing period; other surfaces may call for appropriate mechanical fixing or clamps. Confirm the product instructions and substrate rather than copying one method across concrete, metal and signage. Include preparation and cure-related scheduling.
AC units and service ledges
An AC top may offer a perch, but it is still part of a serviceable appliance. Show the unit and its surrounding space before choosing a strip position.
Check the equipment maker's airflow, fan, drainage and service-clearance requirements. Keep spikes away from moving parts and access needed for covers or controls. Do not use unknown drilling points or an equipment panel as a default fixing surface.
If a strip must be released to open a panel, state how that will happen and who restores it. Photograph the agreed layout and tell the AC technician it is present. Where equipment constraints leave the perch untreated, assess another position or exclusion option.
Windows, signs and visible edges
A treatment on the front of a building needs agreement on appearance and maintenance as well as deterrence. Give us the inside and outside context where it is safely visible.
Check opening shutters, shutters' cleaning positions and any place a resident or pet can reach. Positioning must account for normal use and avoid accessible hazards. Building finish, waterproofing and drilling restrictions should be reviewed before selecting the fixing method.
Coordinate with the sign or building owner about fixing, lighting, cable access and display visibility. List separate surfaces instead of treating the entire frontage as one identical strip. Work timing and access over occupied areas need agreement in the installation plan.
Product limits and wildlife
The selected product must suit the birds and how they use the surface. Spikes are a deterrent, not a closed screen across an opening.
A product intended for larger perching birds may leave opportunities for smaller birds. Nesting debris can also change the usable surface. If birds are already nesting, pause and obtain appropriate guidance before disturbing the area, then assess the suitable longer-term exclusion approach.
Use purpose-made products and suitable placement to discourage landing. Avoid improvised sharp obstacles or arrangements that trap wildlife. Consider the reach of people and pets at accessible surfaces and plan periodic inspection rather than assuming the strip will look after itself indefinitely.
After installation
A displaced base or accumulated debris can alter the coverage. Inspect accessible treatment areas regularly and after work near the ledge.
EverSafe can inspect loose strips, broken bases and failed fixings from previous work. Reattachment may be possible when the product and substrate remain suitable. Damaged parts, wrong coverage or repeated fixing failure may require a revised layout. Repair, cleaning and replacement are separately scoped.
Do not lean outside a window to check strips or pull debris from an inaccessible row. Arrange suitable help for exterior access. Follow product care instructions, record any removable sections and ask for material, workmanship and paid service terms in writing.
Before the visit
A useful enquiry gives the ledge length and depth, the floor and the surface material if known. Approximate dimensions can start the discussion; the installation layout is confirmed by assessment.
Say whether birds only perch or enter a recess, and identify each separate sill, AC top, beam or sign edge. Include clear indoor photographs of the surface and surrounding equipment. Mention existing strips, active nesting or any cleaning requirement.
The proposal should identify the product, rows and total installed running feet, then state preparation, fixing and access. Confirm how old strips, surface restoration, transport and taxes are handled. Arrange property permissions and agree the working area before the installation date.
Hyderabad and nearby coverage
Share the locality, building type and the measured landing surface. The appointment plan depends on access to the exact ledge or equipment area.
For enquiries in these areas, show the sill or AC surface from inside and explain window movement. Confirm the permitted visible finish and any restrictions on drilling or access.
If the perch is on a sign, beam or building frontage, include the surface depth and sign-owner contact arrangements. Agree access and working hours before a ledge visit.
For an apartment or office enquiry, give the floor and whether the ledge can be accessed from indoors. Include adjacent equipment and any shared facade permission requirements.
Make an informed choice
Installation starts at ₹120 per running ft of installed strip length. The visible unit is running ft. The total depends on the selected product, required rows, preparation, fixing and access; it is not calculated from balcony floor area or ledge length alone.
At the starting rate, 10 running ft of installed strip gives an example of ₹1,200, including installation. This means 10 ft of strip in total. A deep ledge needing several rows has more installed strip length and needs the full layout measured.
Each row contributes to the measured installation length. For example, two full rows along a 10 ft ledge use 20 running ft of strip. The selected product's coverage and the perch depth determine the row arrangement, with returns included separately.
They solve different opening problems. Spikes deter landing on a suitable surface, while netting closes entry into a balcony, shaft or recess. If birds are moving behind the ledge or nesting inside a deeper opening, compare a complete exclusion boundary.
A suitable layout may be possible after checking the equipment and surface. The proposal must preserve fan clearance, ventilation, drainage and removable service panels. Do not treat drilling into the casing as a default fixing method; the equipment requirements come first.
These can be assessed individually. Check ledge depth and window movement, the sign owner's fixing restrictions and the shape and function of any pipe. Different surfaces may need different hardware or another product; one adhesive method should not be assumed suitable everywhere.
That depends on the product and the observed use. A strip intended for larger perching birds is not automatically suitable for smaller birds or an active nesting site. Identify the target bird and compare product guidance before specifying coverage.
Compare the actual spike and base material, coverage width, outdoor specification and fixing details. A stainless spike may still use a polymer base. Product configuration and support conditions matter, so select the documented system rather than material name alone.
The purpose of a suitable bird-spike product is to discourage landing, not to trap or harm birds. Proper product selection, placement and maintenance matter. Avoid improvised sharpened obstacles and check that the installation does not create accessible hazards for people or pets.
An active nest needs appropriate wildlife guidance before any work changes the area. Spikes may also be unsuitable where nesting material can accumulate over or behind them. Assess a different exclusion arrangement once the area can be addressed without enclosing or harming wildlife.
Necessary preparation should be identified in the quote, with substantial droppings removal or specialist cleaning separately agreed. The selected fixing method needs a suitable prepared surface. Loose paint, old adhesive and contaminated material cannot simply be hidden under the spike base.
EverSafe can assess existing strips and their supporting surface. If the product is sound, removal of failed fixing material and suitable reattachment may be possible. Damaged bases or an unsuitable layout may need replacement. Repair and preparation are priced separately.
They need inspection for displaced strips, loose bases and debris that creates a new landing surface. Check again after painting, window or AC work. Follow the selected product's care and fixing instructions, and arrange safe access for anything beyond normal indoor reach.
The ledge can be assessed once the height, inside reach and building access rules are known. Suitable work access must be planned before quoting the installation. Send inside photographs without leaning out and mention any association permission or facade restrictions.
Let’s plan your installation
Send your Hyderabad locality, floor, approximate length and depth, and photographs from a safe indoor position. We can assess product coverage, row count and the installed scope.